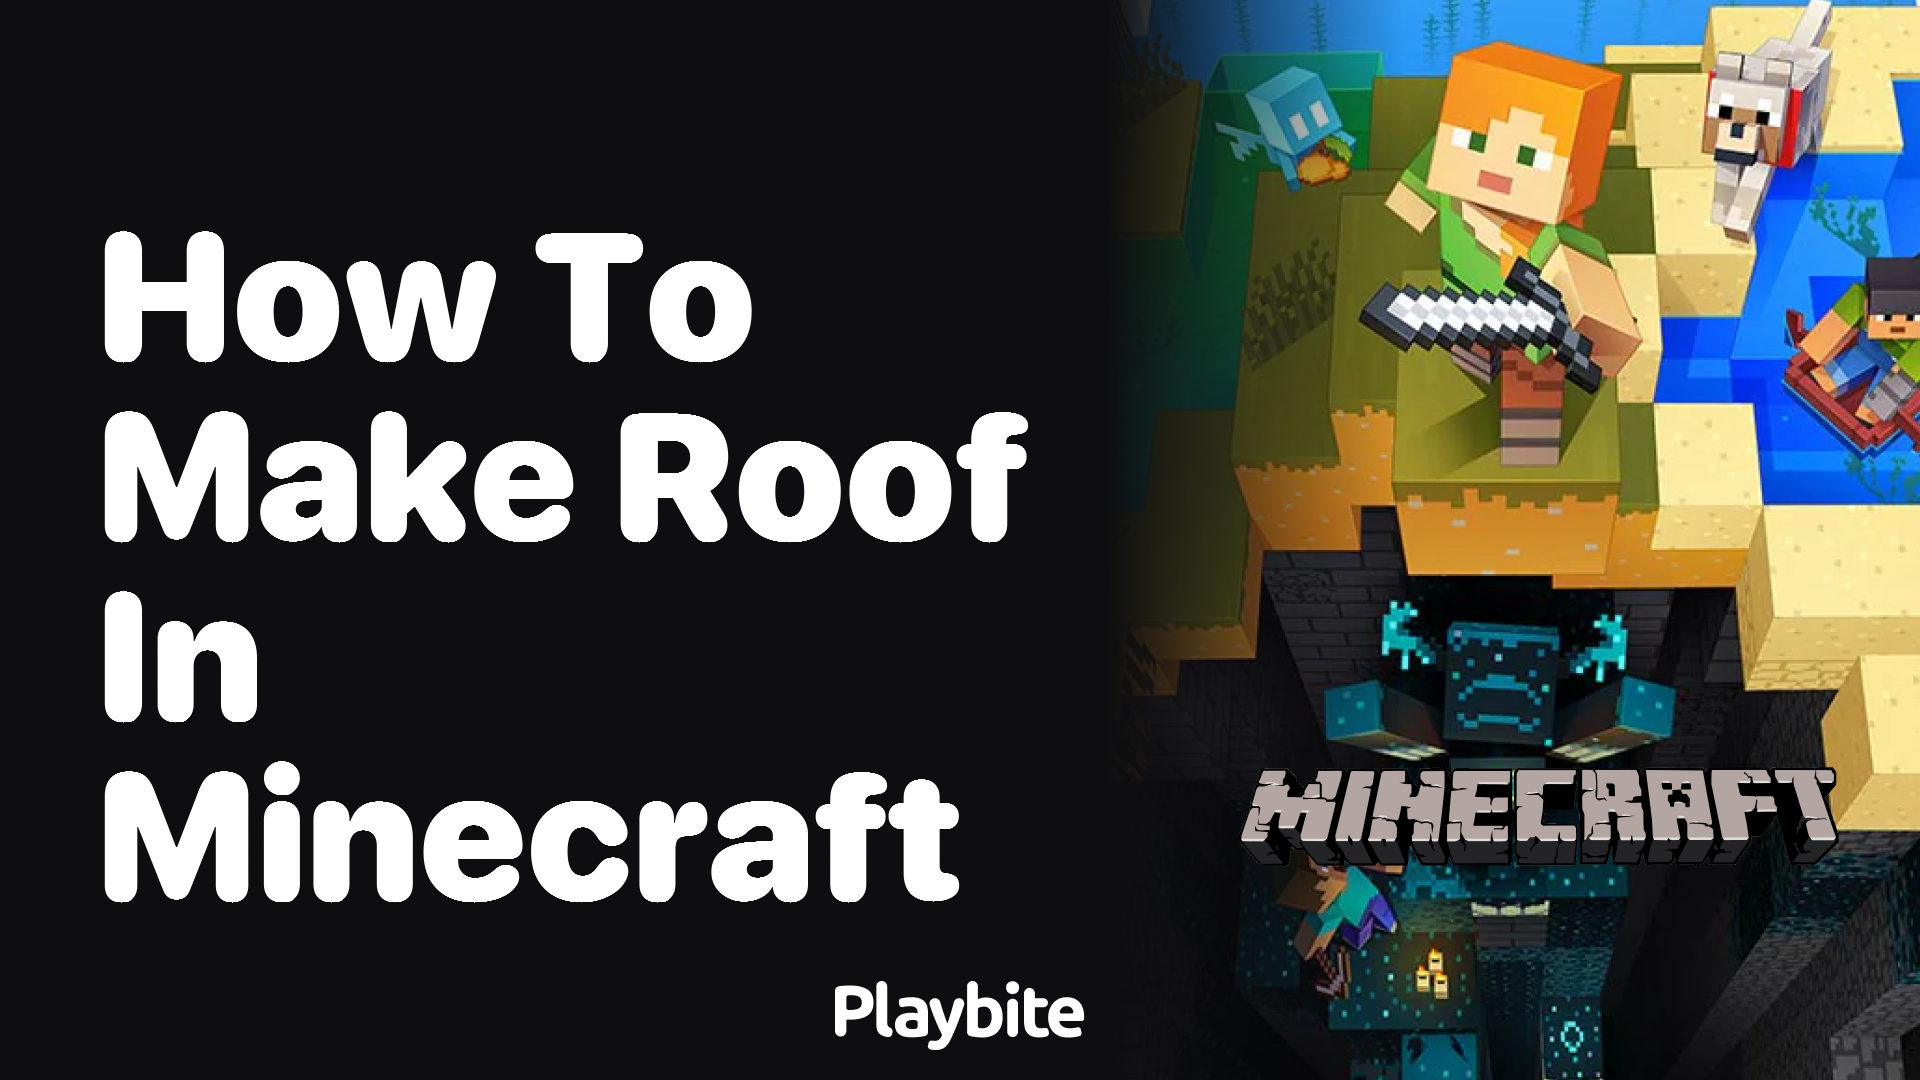
How to Make a Roof in Minecraft: The Ultimate Guide
Last updated
Ever wondered how to add the perfect finishing touch to your Minecraft home? Let’s talk about making a roof in Minecraft, which can protect your virtual abode and give it some serious style!
So, how do you actually go about creating a roof in this sandbox world of endless possibilities? We’re here to break it down for you, step by step.
Quick Answer: Making a Minecraft Roof
Building a roof in Minecraft isn’t as hard as you might think. You start by choosing materials, then you build the frame, and finally, you add the roof itself. Remember, there are no limits to your creativity here!
First, pick your materials. Wood, stone, or even glass can make great roofing materials. Then, decide on the shape of your roof. Do you want a simple flat roof, a sloped one, or something more elaborate? After that, it’s all about placing those blocks to create your design.
Tying Minecraft Roofs Back to Playbite
Now, imagine earning rewards for your Minecraft builds, including new materials for your next project. That’s where Playbite comes in. By playing casual games on the Playbite app, you can win Minecraft Gift Cards and bring more flair to your in-game creations. It’s fun, free, and who knows? Your next roof could be your masterpiece with Playbite’s help!

In case you’re wondering: Playbite simply makes money from (not super annoying) ads and (totally optional) in-app purchases. It then uses that money to reward players with really cool prizes!
Join Playbite today!


The brands referenced on this page are not sponsors of the rewards or otherwise affiliated with this company. The logos and other identifying marks attached are trademarks of and owned by each represented company and/or its affiliates. Please visit each company's website for additional terms and conditions.